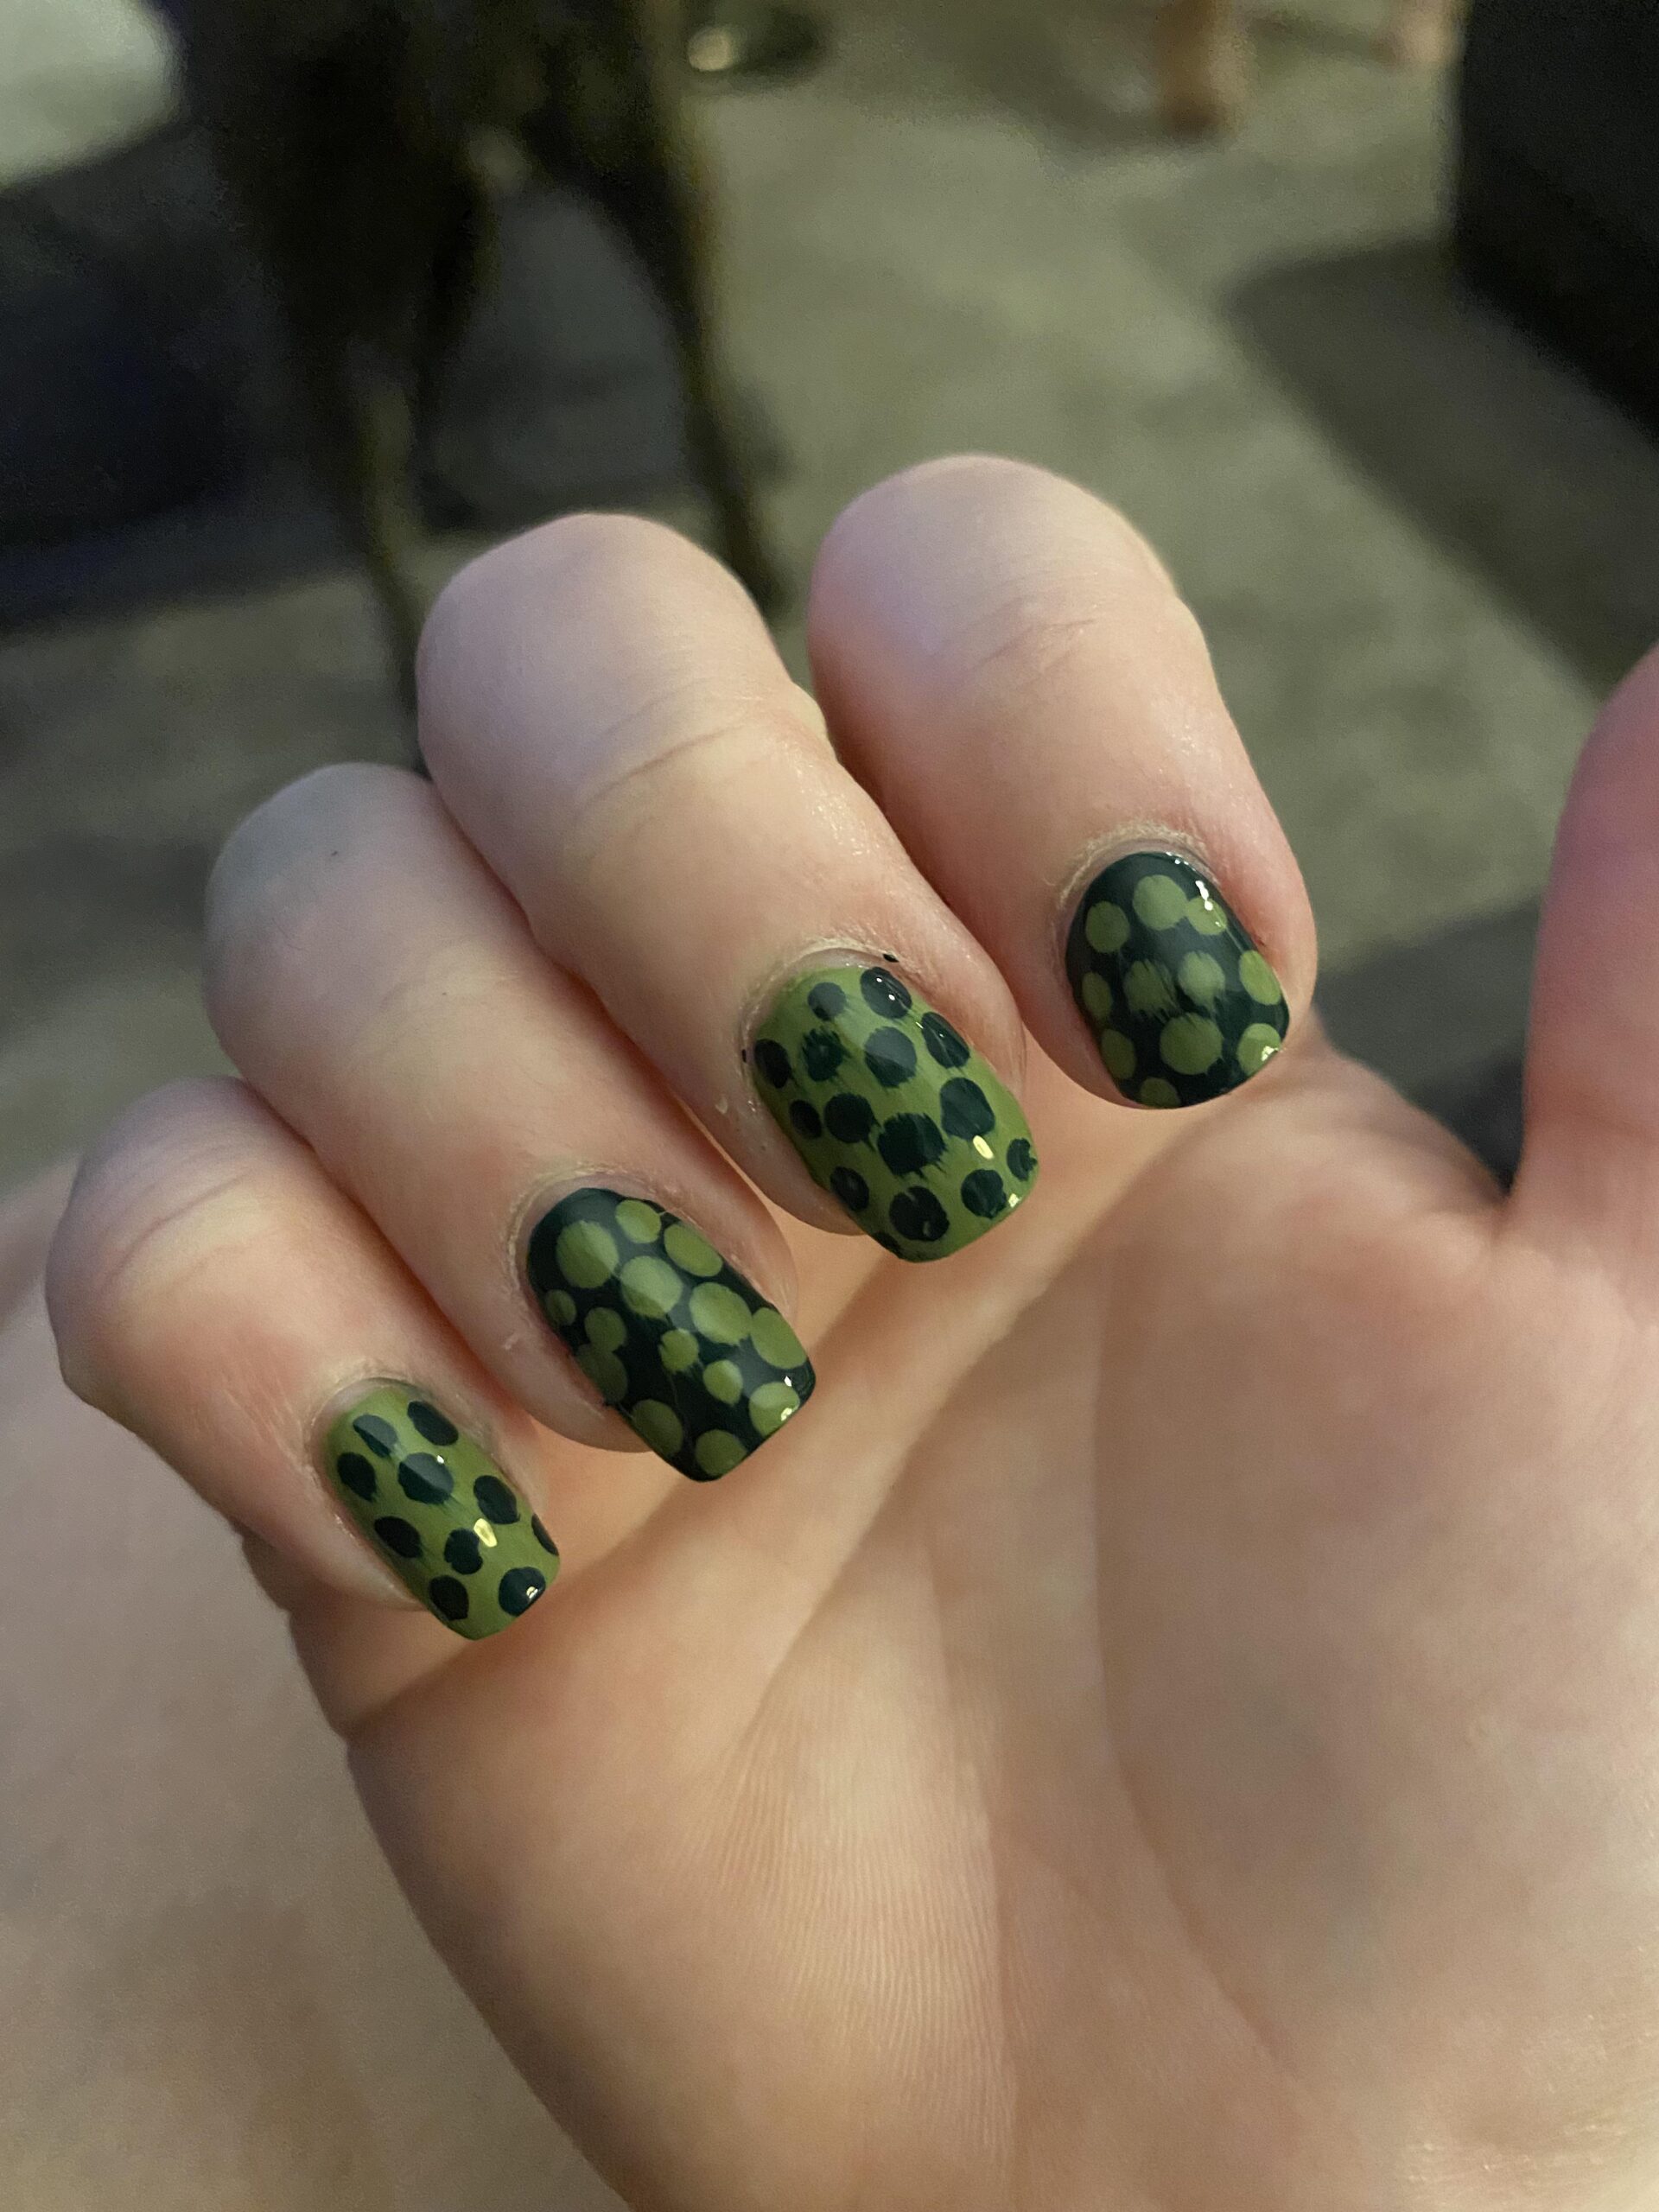
Prevent nail art from smearing by letting polish dry completely before applying top coat. Use thin layers and proper application techniques.
Are you tired of ruining your nail art due to smudging? Fear not! With the right approach, you can keep your manicure looking flawless for longer. By ensuring your nail polish is fully dry before adding a top coat, you can prevent smearing.
Applying thin layers and using minimal brush strokes will also help maintain your nail art. Additionally, investing in a top coat specifically designed to resist smudges can make a significant difference in the longevity of your manicure. Let’s dive deeper into some effective strategies to protect your nail art from smearing and keep your nails looking fabulous.
Introduction To Nail Art Preservation
Prevent nail art smearing by letting polish dry fully, using a quality top coat, and applying thin layers for faster drying. Choose a smudge-resistant topcoat designed to protect your nail art from smudging and ensure a flawless finish.
Nail art is a popular form of self-expression, allowing individuals to showcase their creativity and style. However, one common frustration faced by nail art enthusiasts is the smudging of their meticulously designed artwork. Understanding the importance of smudge-free nail art and the common issues faced by enthusiasts is crucial to preserving the beauty of your manicure.
Importance Of Smudge-free Nail Art
Having smudge-free nail art is essential for maintaining the integrity of your manicure. It allows you to showcase your designs with confidence and ensures that your efforts in creating intricate patterns and designs are not marred by smears or smudges. Additionally, smudge-free nail art contributes to a polished and professional appearance, enhancing your overall aesthetic.
Common Issues Faced By Nail Art Enthusiasts
Nail art enthusiasts commonly encounter issues such as smudging, chipping, and premature wear and tear. These problems can diminish the visual impact of the nail art and lead to frustration after investing time and effort in creating intricate designs. Understanding these common issues is the first step towards implementing effective strategies to prevent nail art from smearing.

Credit: www.youtube.com
Preparation Before Painting
To prevent nail art from smearing, it is important to let each layer of polish dry completely before applying the next one. Using a specialized topcoat designed to resist smudging can also help. Avoid thick layers and apply thin coats instead, allowing each layer to dry fully.
Cleaning Nails Properly
Start by cleaning your nails with mild soap and water to remove any oils or residue.
Trim and shape your nails evenly to create a smooth canvas for your nail art.
Choosing The Right Base Coat
Select a base coat that is specifically formulated to prevent smudging.
Apply a thin layer of base coat to help your nail art adhere better and last longer.
Best Practices For Applying Polish
When it comes to creating flawless nail art, the application of polish plays a crucial role in preventing smearing. By following the best practices for applying polish, you can ensure that your nail art stays intact and smudge-free. Here are some techniques to achieve a seamless and long-lasting finish.
Techniques For Even Application
- Apply thin coats: Thin layers of polish dry faster and are less likely to smudge. Instead of one thick layer, opt for two or three thin coats, allowing each layer to dry completely before applying the next.
- Use as few brush strokes as possible: Minimizing the number of brush strokes helps in achieving a smooth and even application. Excessive brushing can lead to uneven polish distribution and longer drying times.
- Paint in the direction of your nail: When applying polish, ensure that the brush strokes are in the direction of your nail for a neat and uniform finish. This technique helps in preventing streaks and smudges.
Avoiding Thick Layers
Thick layers of polish not only take longer to dry but are also more prone to smudging. By avoiding thick application and opting for thin, even coats, you can significantly reduce the risk of smearing. Additionally, using a topcoat specifically designed to resist smudges can provide an extra layer of protection for your nail art.
Advanced Drying Techniques
Proper drying techniques are crucial for preventing smudging and ensuring long-lasting nail art. By employing advanced drying methods, you can achieve flawless results that last. Let’s explore some effective techniques to ensure your nail art stays immaculate.
Using Nail Dryers Effectively
Utilize nail dryers to expedite the drying process and set your nail art quickly. Ensure the nail dryer is at an appropriate distance from your nails for optimal drying without causing any damage. The controlled airflow helps to solidify the layers of polish, preventing smearing.
Natural Drying Tips
When air-drying your nails, ensure they are exposed to ample airflow. Avoid activities that could lead to accidental smudging, such as using your hands extensively, immediately after applying nail polish. Patience is key when air-drying, as allowing sufficient time for each layer to dry completely is essential in preventing smearing.
Top Coats And Their Impact
When it comes to preventing nail art from smearing, the right top coat plays a crucial role. A quality top coat not only enhances the look of your nail art but also provides a protective barrier, preventing smudging and chipping. Let’s explore the significance of top coats in ensuring long-lasting and smear-free nail art.
Selecting The Right Top Coat
Choosing the appropriate top coat is essential in maintaining the integrity of your nail art. Opt for fast-drying top coats that help seal and protect the design without smearing. Look for gel-based top coats or those specifically formulated to resist smudges, ensuring a flawless finish.
Application Tips To Prevent Smearing
When applying the top coat, follow these tips to minimize the risk of smudging:
- Let your nail polish dry completely before applying the top coat to avoid disturbing the design.
- Use a nail dryer to expedite the drying process, ensuring a smudge-free finish.
- Apply thin layers of the top coat to facilitate faster drying and reduce the likelihood of smearing.
- Minimize brush strokes during application to prevent the disruption of the underlying nail art.
- Paint the top coat in the direction of your nail to maintain the integrity of the design and minimize smudging.

Credit: www.reddit.com
Special Products And Tools
When it comes to creating stunning nail art, special products and tools play a crucial role in preventing smearing and ensuring a flawless finish. By using the right smudge-preventing products and essential tools for detailed art, you can elevate your nail art game to the next level. Let’s explore the specific products and tools that can help you prevent nail art from smearing.
Smudge-preventing Products
Using gel polish can significantly reduce the risk of smudging, as it dries quickly and offers a long-lasting, smudge-resistant finish. Additionally, investing in a high-quality top coat specifically designed to resist smudges can provide an extra layer of protection for your nail art. When applying the top coat, ensure that the nail polish has dried completely to prevent any smudging. Opt for a matte top coat for a unique finish that is less prone to smearing.
Essential Tools For Detailed Art
When creating intricate nail art designs, having the right tools is essential. A nail dryer can accelerate the drying process, reducing the risk of smudging. It’s also important to use thin top coats to prevent excessive buildup, which can lead to smudging. Additionally, using as few brush strokes as possible and painting the top coat in the direction of your nail can help minimize the risk of smearing.
Troubleshooting Common Mistakes
Prevent nail art smearing by letting polish dry fully, applying thin top coats, and using a nail dryer. Ensure each layer is dry before adding the next to avoid smudging. Purchase topcoat made to resist smudges and apply in the direction of your nails for best results.
Fixing Smudges Without Redoing Nails
One quick fix for smudges is to dip a small brush in nail polish remover and gently touch up the affected area.
Adjusting Technique Based On Nail Polish Type
When using regular nail polish, ensure each layer is thin and fully dried before applying the next coat to prevent smudging.

Credit: m.youtube.com
Maintaining Nail Art Longevity
To maintain nail art longevity and prevent smearing, ensure your nail polish is completely dry before applying a top coat. Opt for thin layers, allowing each coat to dry fully. Use a top coat specifically designed to resist smudges and apply it in the direction of your nail for best results.
Daily Care Tips
After completing your nail art, it’s essential to follow a daily care routine to prevent smearing. Firstly, avoid exposing your nails to excessive moisture, as it can cause the nail art to smudge. Additionally, moisturize your cuticles regularly to maintain the overall health of your nails. Furthermore, wearing gloves when performing household chores can protect your nail art from chipping or smearing due to chemicals or rough surfaces.
When To Touch Up Or Redo
Knowing when to touch up or redo your nail art is crucial for maintaining its longevity. If you notice any chipping or smudging, it’s advisable to touch up the affected areas immediately. Furthermore, if the nail art starts to lose its shine or vibrancy, consider scheduling a complete redo to keep your nails looking fresh and stunning.
Frequently Asked Questions
How To Stop Smudging Nails?
To prevent smudging nails, apply thin layers of nail polish and allow each layer to dry completely before adding the next. Use a special topcoat designed to resist smudging and test it before use. Avoid making thick dots and use as few brush strokes as possible when applying the topcoat.
Consider using a nail dryer and paint the topcoat in the direction of the nail.
Why Do My Nails Smudge Hours After Painting?
Nails smudge hours after painting due to insufficient drying time. Allow each layer to dry completely to prevent smudging.
Why Does My Gel Nail Art Smudge?
Gel nail art can smudge due to improper drying and low-quality top coat application. To prevent smudging, ensure the nail polish is completely dry before adding nail art and using a high-quality top coat. Apply thin layers and allow each layer to dry thoroughly for a flawless finish.
How To Keep Nail Stamps From Smearing?
To prevent nail stamp smearing, ensure polish is fully dry before stamping. Apply a thin layer of top coat. Avoid multiple top coat layers.
Conclusion
Preventing nail art from smearing requires patience, attention to detail, and proper technique. Waiting for each layer to dry completely, using a high-quality top coat, and applying thin coats of polish can all contribute to a smudge-free manicure. Additionally, using a nail dryer and painting in the direction of the nail can also help to prevent smudging.
By following these tips and tricks, you can enjoy a flawless and long-lasting nail art design.


