To make nail designs with dip powder, start with a milky base and use a stylus for dotting on the design. Prep nails well for better adhesion and long-lasting wear.
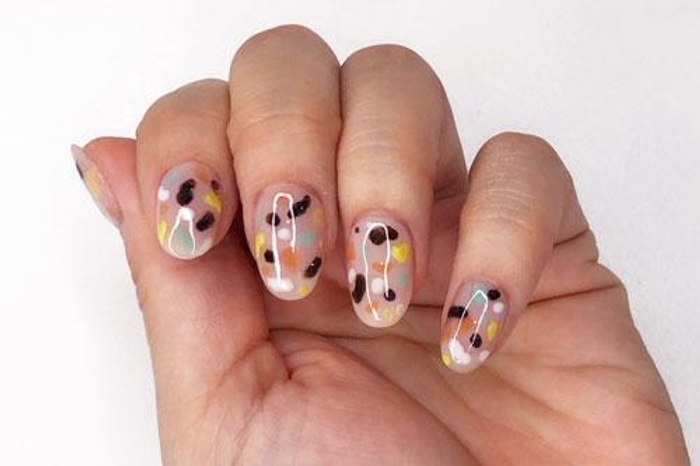
Creating daisy nail art is a cheerful and easy process that can be achieved with the right tools and techniques. By following step-by-step instructions, you can achieve beautiful nail designs using dip powder. Whether you’re a DIY enthusiast or a professional nail artist, dip powder offers a versatile and creative way to express your style.
With some practice and creativity, you can create stunning nail designs that stand out and showcase your unique personality. Explore different design ideas and techniques to elevate your nail art game with dip powder.
Credit: www.reddit.com
Introduction To Dip Powder Nail Art
Dip powder nail art has gained immense popularity due to its durability and versatility. This technique involves applying a colored powder to the nails, resulting in a long-lasting and vibrant manicure. Whether you’re a nail art enthusiast or a professional nail technician, dip powder nail art offers a wide range of designs and styles to elevate your nail game.
Popularity And Benefits
Dip powder nail art has surged in popularity due to its numerous benefits. It provides a durable and long-lasting manicure that resists chipping and fading. The versatility of dip powder allows for a wide range of designs, from simple patterns to intricate nail art. Additionally, dip powder is known for its quick application and easy removal process, making it a favorite among nail enthusiasts.
Basic Materials Needed
- Dip Powder: Various colored dip powders for creating the desired nail designs.
- Base Coat: Essential for prepping the nails and promoting adhesion of the dip powder.
- Activator: Used to harden the dip powder and create a durable finish.
- Top Coat: Provides a glossy and protective layer for the nail design.
- Brushes and Tools: Nail brushes, dotting tools, and other accessories for creating intricate designs.
Preparing Your Nails
Achieve stunning nail designs with dip powder by prepping nails thoroughly, ensuring long-lasting wear. Follow step-by-step instructions for creating daisy nails using a dip powder kit and a stylus tool for dotting on the design. Elevate your nail art game with this cheerful and easy technique.
Cleaning And Buffing
Before applying dip powder, it’s crucial to thoroughly clean and buff your nails to ensure a smooth and even surface. Start by removing any existing nail polish using an acetone-based nail polish remover. Then, use a nail buffer to gently buff the surface of each nail, removing any ridges or imperfections.
Applying The Base Coat
Once your nails are clean and buffed, it’s time to apply the base coat. Begin by applying a thin, even layer of bonding agent to each nail, ensuring complete coverage. This step is essential for promoting adhesion and ensuring the longevity of your dip powder manicure.
Step-by-step Guide To Applying Dip Powder
Step 1: Apply a thin layer of base coat onto clean, dry nails.
Step 2: Dip the nail into the powder at a 45-degree angle and tap off excess.
Step 3: Repeat the dipping process for a second layer of color, if desired.
Step 4: Apply an activator to set the powder and harden the nails.
Step 5: Wait for the activator to dry completely before moving on to the next step.
Step 6: Seal the design with a top coat for a glossy finish.
Credit: www.dipwell.co
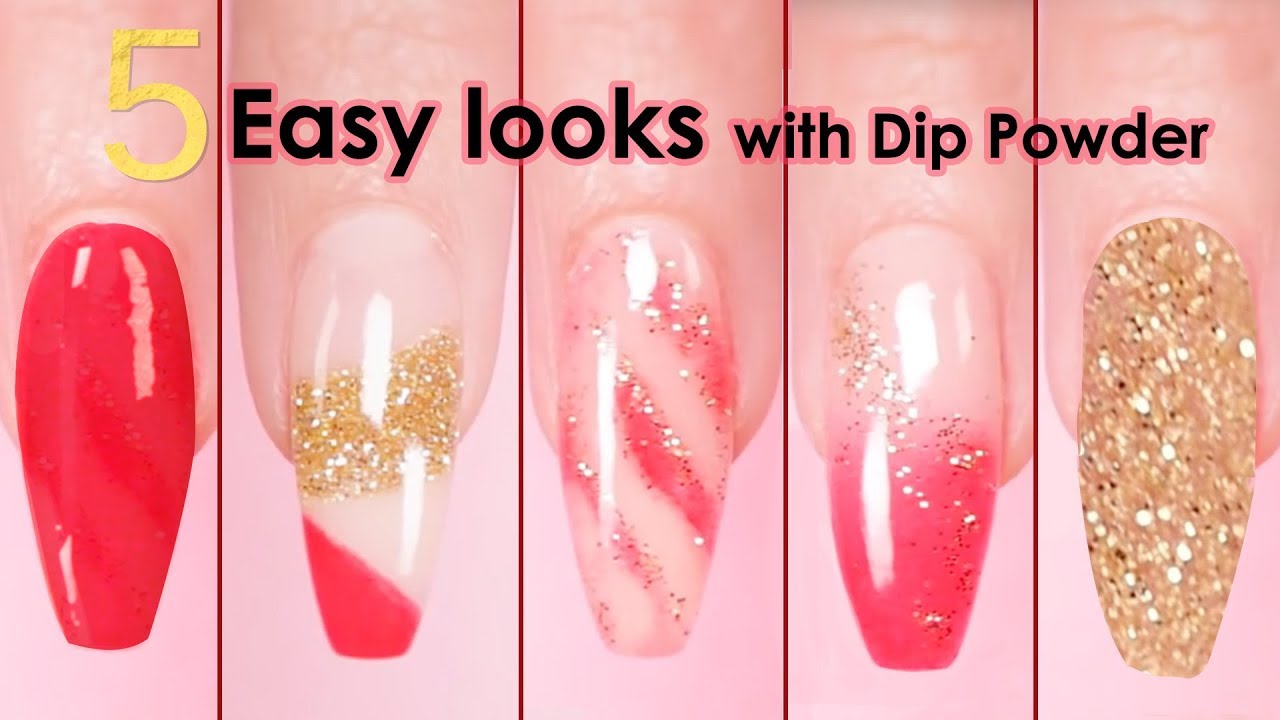
Creating Basic Designs With Dip Powder
Learn how to create basic nail designs with dip powder by using a stylus tool to dot on a daisy design. Make sure to prep your nails properly for adhesion and long-lasting wear. You can also try painting over dip powder nails with a coat of clear powder and then applying normal or gel polish on top.
Solid Color Application
Dip powder nails are a versatile way to create stunning nail designs. When it comes to creating basic designs with dip powder, the solid color application is a great starting point. With this technique, you can achieve a flawless and vibrant single-color nail look that lasts for weeks.
Simple Two-tone Designs
Another approach to basic designs with dip powder is the creation of simple two-tone designs. By combining two complementary colors, you can achieve a stylish and eye-catching look that elevates your nail game. This technique allows for endless creativity and personalization, making it perfect for nail enthusiasts of all levels.
Advanced Dip Powder Techniques
Take your nail art to the next level with these advanced dip powder techniques. These methods allow you to create stunning and intricate designs that will make your nails stand out.
Ombre Effects
Create mesmerizing gradient effects on your nails with the ombre technique. This method involves blending two or more dip powder colors seamlessly, resulting in a smooth transition from one shade to another.
Marbling Techniques
Marbling techniques offer a unique way to achieve a swirl of colors on your nails. By gently swirling different colored dip powders together, you can create beautiful and intricate marbled patterns that are sure to impress.
Using Tools For Detailed Artwork
When it comes to creating stunning nail designs with dip powder, using tools for detailed artwork can elevate your manicure game to the next level. Let’s explore some essential tools that can help you achieve intricate and beautiful nail art.
Stencils And Decals
Stencils and decals are excellent tools for adding intricate designs to your dip powder nails. These pre-made designs can help you achieve professional-looking nail art with ease. Simply apply the stencil or decal to your nail, dip it in the powder, and peel off to reveal a flawless design.
Dotting Tools For Patterns
Dotting tools are perfect for creating patterns and intricate details on your dip powder nails. These tools come in various sizes, allowing you to create different dot sizes and designs. From polka dots to intricate patterns, dotting tools are versatile and easy to use for adding that extra flair to your nail art.
Tips For Long-lasting Dip Powder Nails
For long-lasting dip powder nails, prep nails properly for adhesion. Create stunning designs with dip powder using a stylus tool for easy daisy nail art on a milky base. To make nail designs with dip powder, remember to follow these tips for beautiful and durable results.
Proper Curing
Ensuring proper curing of dip powder nails is essential for their longevity. After each dip powder layer application, it’s crucial to use a high-quality LED or UV lamp to cure the nails thoroughly. This process helps to strengthen the bond between the layers and ensures a durable finish.
Maintenance And Touch-ups
Maintenance and touch-ups play a significant role in extending the lifespan of dip powder nails. Regularly applying a top coat every few days can help maintain the shine and prevent chipping. Additionally, promptly addressing any minor chips or cracks with a touch-up kit can prevent further damage and prolong the overall wear of the manicure.
Troubleshooting Common Dip Powder Issues
When it comes to nail designs with dip powder, encountering common issues such as lifting, cracking, and clumpy finishes can be frustrating. However, with the right techniques, these problems can easily be addressed. Here’s how to troubleshoot these common dip powder issues:
Fixing Lifting And Cracking
If you notice lifting or cracking in your dip powder nail designs, it’s important to address the issue promptly to prevent further damage. Start by gently filing the lifted or cracked area to create a smooth surface. Then, apply a thin layer of clear dip powder over the affected area, making sure to blend it seamlessly with the existing design. Finally, proceed with the usual sealing and top coat application to ensure a flawless finish.
Avoiding Clumpy Finishes
To avoid clumpy finishes in your dip powder nail designs, it’s crucial to maintain the right consistency of the dip powder throughout the application process. Ensure that the powder is properly sifted and free of any lumps before each use. Additionally, when applying the powder, use light and even strokes to achieve a smooth and clump-free finish.

Credit: www.tiktok.com
Frequently Asked Questions
Can You Make Designs With Dip Powder?
Yes, you can create designs with dip powder. Use a stylus tool to dot on the design for beautiful nail art.
Can You Draw On Dip Nails?
Yes, you can draw on dip nails. You can paint over dip powder nails and apply normal nail polish or gel nail polish over them. Additionally, you can use stencils or nail stickers with dip powder to create various designs.
To ensure adhesion and long-lasting wear, it is crucial to thoroughly prep your nails before applying dip powder.
How Do You Use Nail Decals With Dip Powder?
To use nail decals with dip powder, apply the decal on the nail after the base color. Seal with top coat.
How To Use Stencils With Dip Powder?
To use stencils with dip powder, first apply base color and dip nails. Place stencil on the nail and gently pat dip powder on top. Carefully remove stencil and seal with top coat.
Conclusion
Dip powder is a great way to create unique and long-lasting nail designs. With the right tools and techniques, you can easily create beautiful daisy nails or try other designs like color blocking or glitter ombre. Just remember to properly prep your nails for adhesion and follow the steps carefully.
Whether you’re a DIY at-home nail artist or getting your nails done professionally, dip powder is a fun and creative way to express yourself through nail art.