To create nail designs for beginners, start with a basecoat color or clear basecoat. Use French manicure stickers for precise lines and apply the tip color above the sticker.
Remove the sticker while the paint is still wet to avoid smudging. Are you a beginner looking to dive into the world of nail art? Creating stunning nail designs may seem daunting at first, but with the right techniques, you can achieve beautiful results.
By following simple steps and using basic tools, you can master nail art and unleash your creativity. Let’s explore how to create eye-catching nail designs even if you’re new to the art of nail styling.
:max_bytes(150000):strip_icc()/at-homenails-7ed5269ec0584cd087fd6aef390d8987.png)
Credit: www.byrdie.com
Getting Started With Nail Art
Welcome to the exciting world of nail art! Whether you’re looking to express your creativity or add a pop of color to your look, nail art is a fun and rewarding way to enhance your personal style. As a beginner, it’s important to start with the basics and gradually build your skills. Let’s dive into the essential steps to help you get started on your nail art journey.
Choosing The Right Tools
Before you begin your nail art adventure, it’s crucial to have the right tools at your disposal. Investing in high-quality tools will not only make the process easier but also ensure better results. Here are some essential tools you’ll need:
- Nail polish: Choose a variety of colors to unleash your creativity.
- Base coat and top coat: Protect your nails and seal in your designs.
- Nail art brushes: Invest in a set of fine brushes for intricate designs.
- Nail polish remover: Essential for correcting mistakes and cleaning up edges.
- Nail tape or stickers: Perfect for creating clean lines and geometric designs.
Basic Nail Preparation
Properly preparing your nails is the foundation of a successful nail art design. Follow these basic steps to ensure your nails are ready for the artistic transformation:
- Clean your nails: Remove any existing nail polish and wash your hands thoroughly.
- Shape your nails: Trim and file your nails to your desired shape.
- Push back cuticles: Gently push back the cuticles to create a clean canvas for your designs.
- Apply a base coat: Protect your nails with a base coat to prevent staining and enhance the longevity of your nail art.
By following these steps and arming yourself with the right tools, you’re well on your way to exploring the wonderful world of nail art. With practice and patience, you’ll soon be creating stunning designs that showcase your unique style.
Credit: www.youtube.com
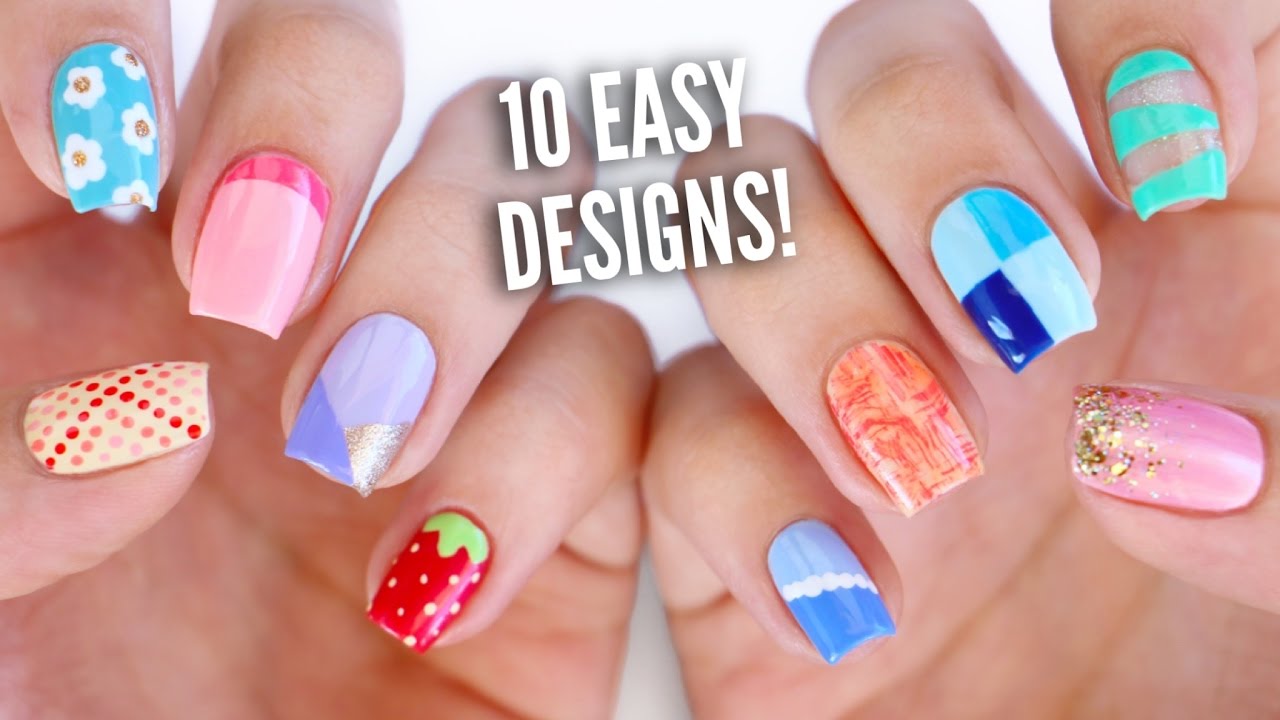
Simple Techniques For Beginners
Discover simple techniques for beginners to create stunning nail designs effortlessly. Start with a basecoat, add a French manicure sticker, paint the tip color, then remove the sticker for flawless results. Explore different shapes and experiment with nail art brushes for endless creativity.
Applying A Base Coat
Start by applying a base coat to protect your nails and help the nail polish adhere better. This step is crucial for a long-lasting manicure.
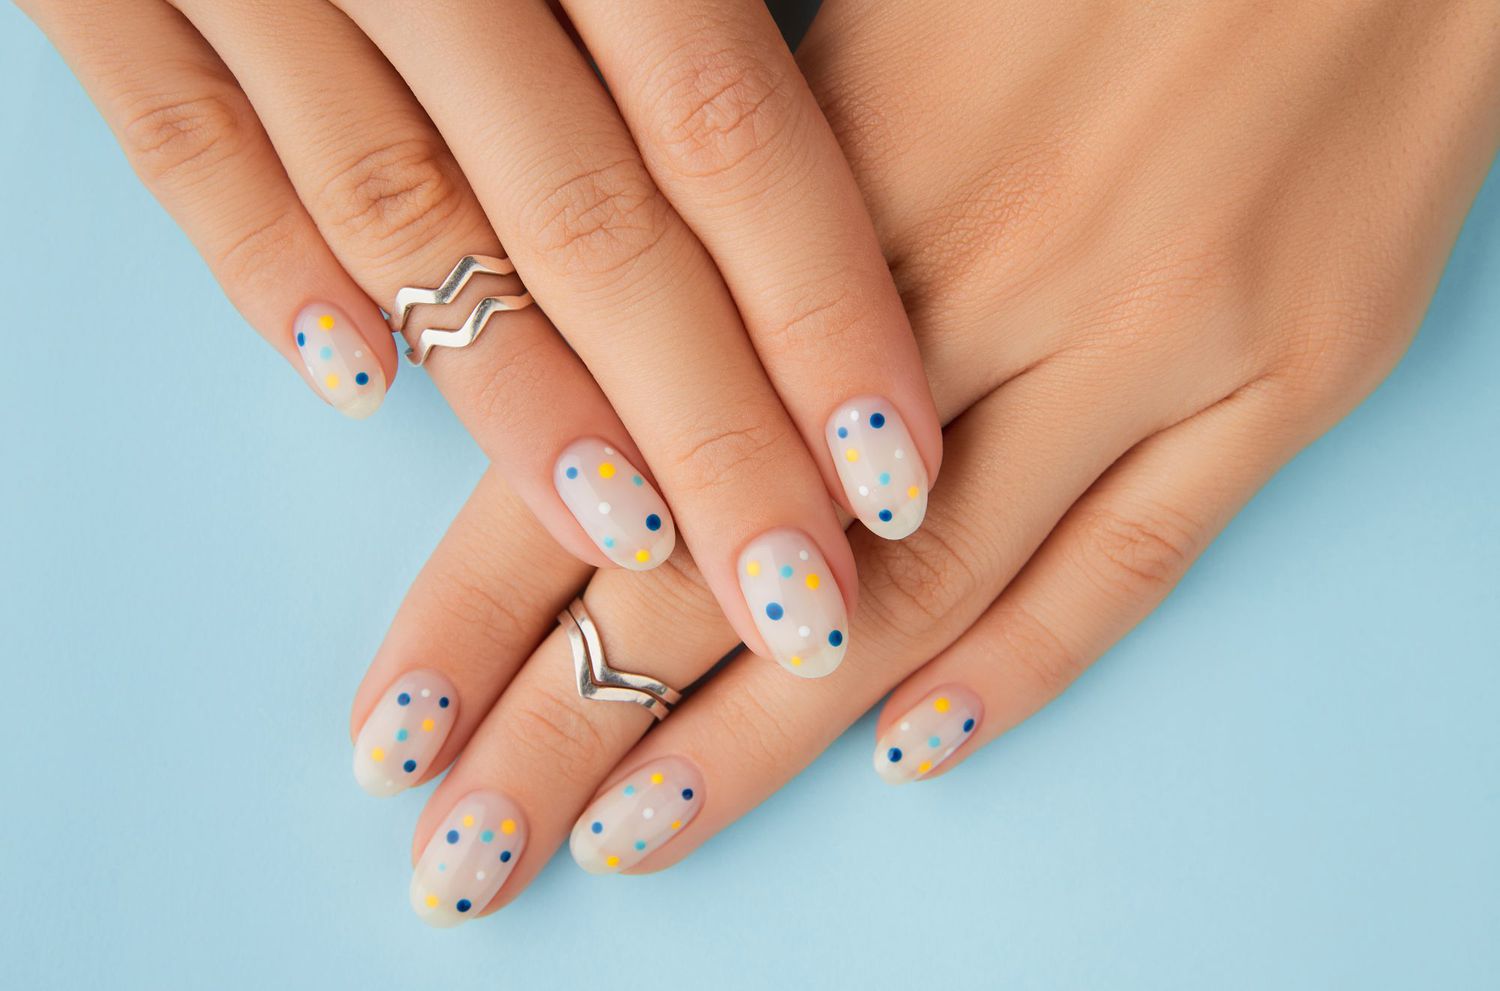
Simple Dot Designs
Create cute and easy nail designs using simple dotting techniques. All you need is a dotting tool or a toothpick to achieve beautiful dotted patterns on your nails.
Stripes And Lines
Creating straight lines on your nails can add a chic and modern touch to your nail designs. Whether you want to create vertical, horizontal, or diagonal stripes, mastering this technique can elevate your nail art game. Let’s explore how to achieve perfect stripes and lines for your nail designs.
Creating Straight Lines
When it comes to creating straight lines on your nails, precision is key. To achieve clean and crisp lines, you can use striping tape or nail art stripers. These tools will help you create precise lines with ease. Alternatively, if you don’t have access to specialized tools, you can also use a fine-tipped nail art brush to carefully paint straight lines onto your nails.
Mixing Colors For Stripes
Experimenting with different color combinations is a fun way to create eye-catching nail designs. When it comes to mixing colors for stripes, you can opt for complementary colors or create a bold contrast with contrasting shades. For a striking look, try using metallic or glitter polishes to add a touch of glamour to your striped nail designs.
Fun With French Tips
Are you ready to add some flair to your nail designs? Let’s have some fun with French tips! Whether you’re a beginner or a seasoned nail artist, French manicures offer a timeless elegance that can be adapted to suit your style. Let’s explore the classic French manicure and discover some modern twists on this iconic nail design.
Classic French Manicure
The classic French manicure is characterized by a natural pink or nude base with white tips. It’s a simple and sophisticated look that complements any outfit or occasion. To achieve this timeless style, follow these steps:
- Apply a basecoat color or a clear basecoat.
- Place a French manicure sticker across your nail, leaving the tip exposed.
- Paint the tip color above the sticker.
- Remove the sticker while the paint is still wet to avoid pulling off chips of paint.
Modern Twists On French Tips
Looking to put a modern spin on the classic French manicure? There are several creative variations that can elevate your nail game. Try out these contemporary twists:
- A Sleek Swoop: Shift your French tip to the corner of your nail for a modern take on the classic manicure. Stick with a pastel shade or go bold with a vibrant color.
- Dot Cure Design: Create a stylish look by incorporating dotted patterns along with your French tips. This adds a playful and artistic touch to your nails.
- Adorable Strawberry Nail Design: Embrace the whimsy of fruit-inspired nail art by adding tiny strawberry motifs to your French tips. This charming design is perfect for adding a pop of color to your nails.
- Negative Space Design with Glitter Base: Experiment with negative space by leaving a portion of your nails bare while incorporating a glittery base for a chic and eye-catching effect.
- Colour Block Nail: Embrace bold and vibrant colors by incorporating color-blocking techniques into your French manicure. This modern twist allows for endless creativity and personalization.
Using Household Items
Creating stunning nail designs doesn’t always require fancy tools or expensive kits. In fact, you can achieve gorgeous nail art using common household items. Here are some creative ways to elevate your nail designs with items you probably already have at home.
Band-aid For Perfect Stripes
To create perfect stripes on your nails, simply cut a Band-Aid into thin strips. Apply the base color to your nails and let it dry. Once dry, place the Band-Aid strips diagonally or horizontally on your nails. Apply the second color over the strips and then gently peel them off to reveal flawless, crisp stripes.
Toothpick For Dots And Details
A toothpick can be a game-changer when it comes to adding intricate details or creating playful dots on your nails. Dip the tip of the toothpick into the nail polish and carefully dot it onto your nails to create stunning designs. You can also use it to drag the polish to create intricate designs and patterns.
Stickers And Decals
When it comes to nail art, stickers and decals can be a game-changer for beginners. They are an easy and fun way to add intricate designs to your nails without requiring advanced artistic skills. Here’s how you can make the most of nail stickers and decals to create stunning nail designs.
Applying Nail Stickers
To apply nail stickers, start by prepping your nails with a base coat. Once the base coat is dry, carefully peel off the stickers using tweezers and place them onto your nails. Gently press down on the stickers to ensure they adhere smoothly to the nail surface. Trim any excess sticker material using small scissors for a perfect fit. Finish with a clear top coat to seal the stickers in place and add shine to your design.
Combining Stickers With Polish
Another way to use nail stickers is to combine them with nail polish. After applying a base coat, choose a nail polish color that complements the stickers. Apply the polish as usual and allow it to dry completely. Then, carefully apply the stickers on top of the polished nails, following the same process as mentioned earlier. Finish with a top coat to protect the entire design and ensure longevity.
Creating Textured Effects
When it comes to nail designs, adding textures can elevate your manicure to the next level. Creating textured effects is a fun way to experiment with different nail art techniques. Let’s explore two popular methods for adding texture to your nails: Using Glitter and Metallic Flakes, and Sponge Techniques for Ombre.
Using Glitter And Metallic Flakes
Glitter and metallic flakes are fantastic for creating eye-catching textures on your nails. Here’s how you can use them:
- Apply a base coat to your nails and let it dry completely.
- Apply a layer of your chosen nail polish color.
- While the polish is still wet, sprinkle glitter or metallic flakes onto your nails.
- Gently press the glitter or flakes into the polish to ensure they adhere well.
- Finish with a top coat to seal the design and add extra shine.
Sponge Techniques For Ombre
Creating a beautiful ombre effect using a sponge is a popular textured nail design. Follow these steps to achieve a stunning ombre look:
- Apply a light base color to your nails and let it dry completely.
- Choose two additional colors that blend well together for the ombre effect.
- Paint the two colors onto a makeup sponge in a gradient pattern.
- Gently dab the sponge onto your nails, overlapping the colors to create a seamless blend.
- Repeat the dabbing process until you achieve the desired ombre effect.
- Finish with a top coat to protect your design and give it a glossy finish.

Credit: www.pinterest.com
Sealing And Protecting Your Nail Art
Once you’ve created your stunning nail design, it’s crucial to seal and protect it to ensure its longevity. Here’s how you can achieve that:
Applying A Top Coat
After allowing your nail art to dry completely, apply a top coat to seal the design and add a glossy finish. This will also help in preventing chipping and extending the life of your nail art.
Maintenance Tips
For long-lasting nail art, consider the following maintenance tips:
- Reapply a thin layer of top coat every few days to maintain the shine and protect the design.
- Avoid using your nails as tools to prevent damage to the nail art.
- Wear gloves while doing household chores to protect your nail art from harsh chemicals and excessive water exposure.
Frequently Asked Questions
How To Design Nails For Beginners?
To design nails for beginners, start by applying a base coat or clear basecoat. Place a French manicure sticker across your nail, leaving the tip exposed. Paint the tip color above the sticker and remove it while the paint is still wet.
You can also try easy nail art tutorials using a nail painting brush and complementary colors or experimenting with different nail shapes like square, round, oval, squoval, or pointed. Remember to seal with a top coat for a polished look.
What Are The 5 Basic Nail Designs?
The five basic nail designs are square, round, oval, squoval, and pointed shapes.
What Is The Easiest Way To Do Nail Art?
The easiest way to do nail art is by using a nail painting brush with three to six colors. Start with a clear base coat, then draw stripes in alternating colors on your nails. Finish with a top coat for a polished look.
Where Do I Start With Nail Art?
To start with nail art, begin by applying a basecoat or clear basecoat. Use French manicure stickers to create a design, and paint the tip color above the sticker. Remove the sticker while the paint is still wet. You can also try drawing stripes onto your nails with complementary colors and sealing with a top coat.
Experiment with basic nail shapes like square, round, oval, squoval, or pointed. Start simple and gradually progress to more complex designs.
Conclusion
Designing your nails as a beginner can be a fun and creative way to express yourself. By following the steps outlined in this post, you can achieve beautiful nail designs without the need for fancy tools or expensive trips to the salon.
Remember to start with a clear or base coat, use stickers for precision, and experiment with different colors and patterns. With practice and patience, you’ll soon be creating stunning nail designs like a pro. Happy painting!