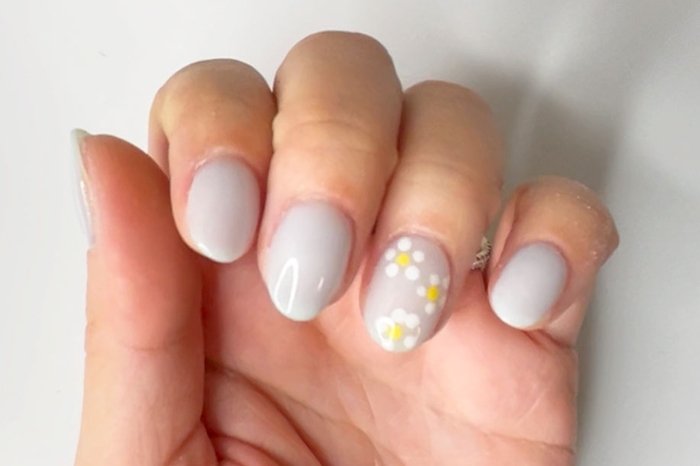
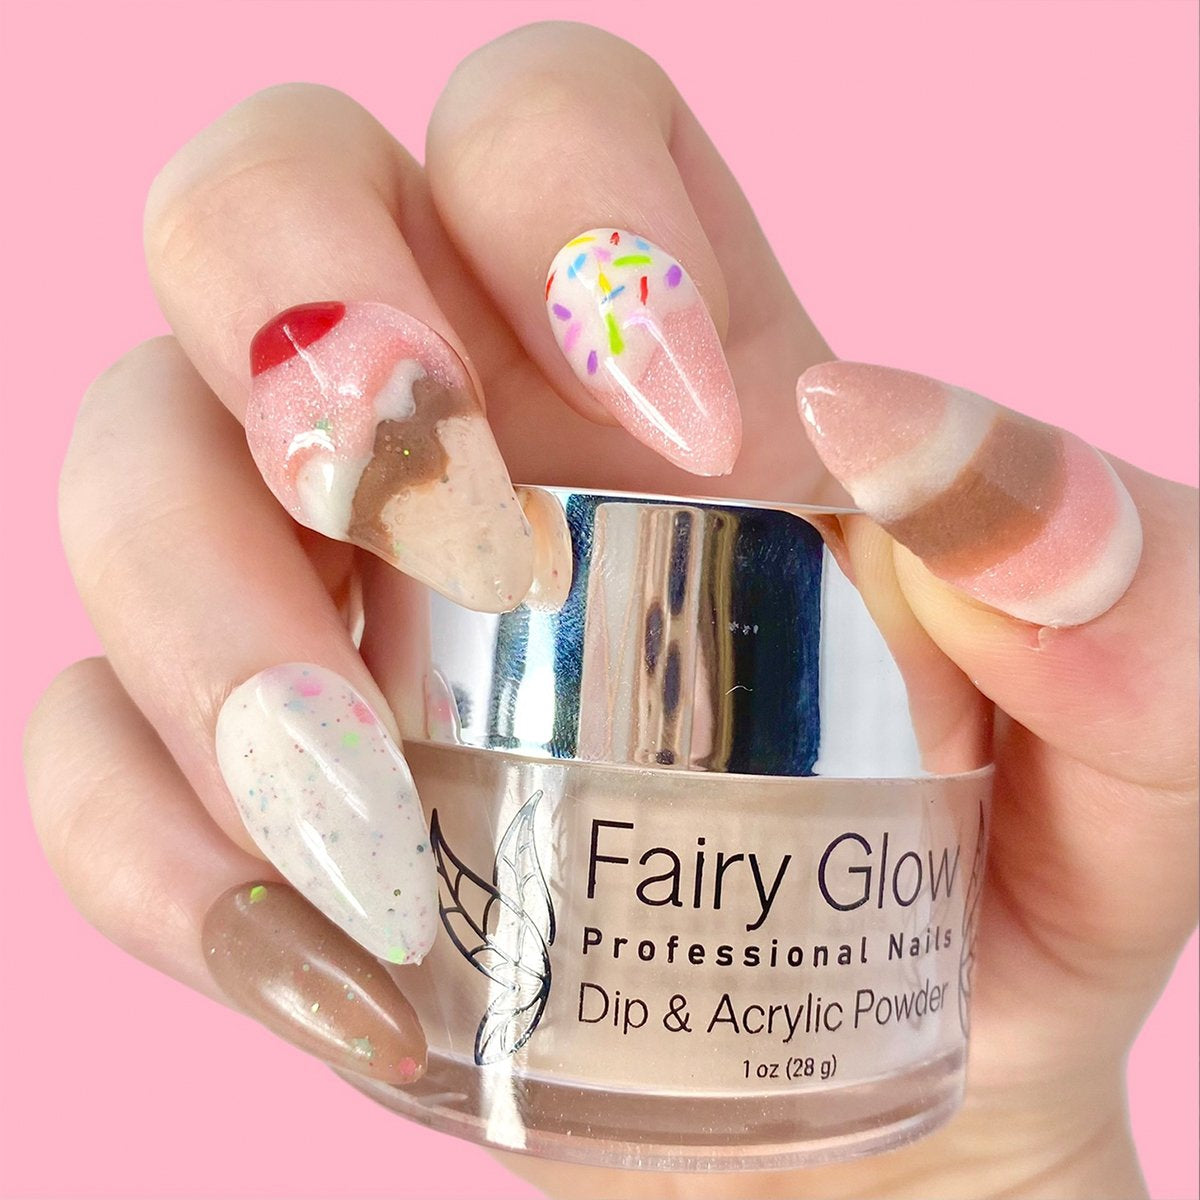
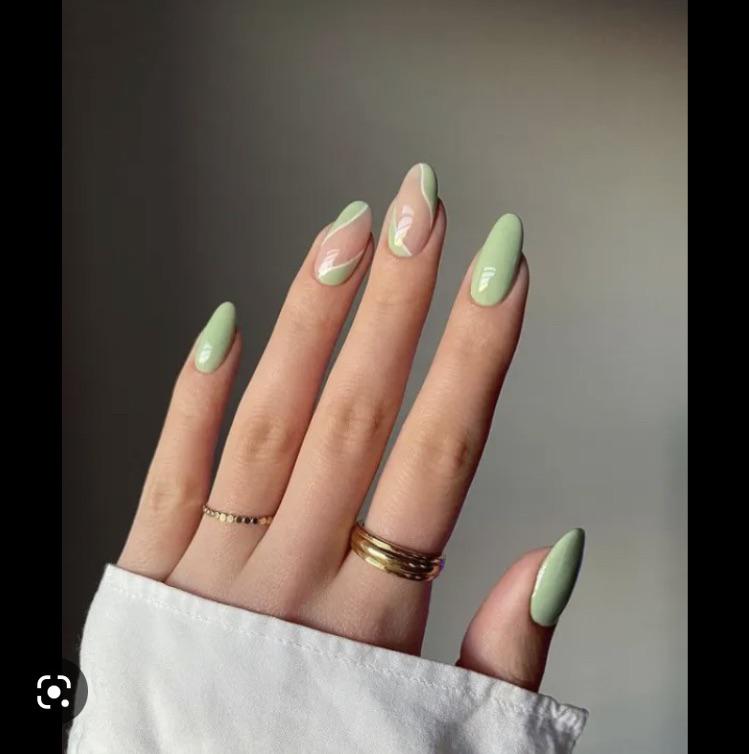
Yes, you can create nail designs with dip powder, including intricate and creative designs. Dip nails are versatile and offer various design options, making them a popular choice for nail art enthusiasts.
Whether you prefer simple patterns or intricate artwork, dip powder allows you to express your unique style on your nails. With dip nails, you can achieve beautiful and long-lasting designs that will make your nails stand out. From floral patterns to geometric shapes, the possibilities for nail designs with dip powder are endless.
So, if you’re looking to add a touch of creativity to your manicure, dip nails are a fantastic option to explore.
Introduction To Dip Nail Designs
Explore the versatility of dip nails with intricate designs. Create stunning nail art with dip powder, perfect for expressing your unique style effortlessly. Unleash your creativity with daisy nail art, glitter ombre, tie-dye, matte finishes, and more without the need for gel.
Popularity Of Dip Nails
Dip nails have gained immense popularity in recent years due to their durability, versatility, and ease of application. This nail enhancement technique involves dipping the nails into a colored powder to achieve a long-lasting and chip-resistant manicure. With a wide range of colors and designs available, dip nails have become a go-to choice for individuals looking for a low-maintenance yet stylish nail solution.
Basic Differences Between Dip, Gel, And Acrylic
When comparing dip, gel, and acrylic nails, it’s important to understand the basic differences to make an informed decision about the best option for your needs.
- Dip Nails: Involves dipping the nails into a powder, resulting in a durable and long-lasting manicure. Requires no UV/LED light for curing.
- Gel Nails: Applied as a polish and cured under UV/LED light, offering a glossy finish and flexibility. Ideal for intricate designs and nail art.
- Acrylic Nails: Created using a liquid monomer and powder polymer mixture, providing a strong and durable extension. Often used for nail extensions and sculpting.
Each nail enhancement technique has its own unique features, and understanding these differences can help you choose the most suitable option based on your preferences and lifestyle.

Credit: www.dipwell.co
Essential Tools And Products
When it comes to getting a nail design with dip powder, having the right tools and products is essential for achieving a flawless result.
List Of Necessary Supplies
- Dip powder kit: Includes base coat, activator, top coat, and dip powder colors.
- Nail file and buffer: For shaping and smoothing the nails.
- Cuticle pusher: To push back and clean the cuticles.
- Clean, dry brush: For dusting off excess powder.
- UV or LED lamp: To cure and dry the dip powder.
- Lint-free wipes: For cleaning and prepping the nails.
Choosing Quality Dip Powders
Quality dip powders are crucial for a long-lasting and vibrant nail design. Look for powders that are:
- Smooth and finely milled: Ensures even application and smooth finish.
- Pigmented: Provides rich color payoff with fewer layers.
- Non-toxic and odorless: Safe for your nails and health.
- Long-lasting: Resistant to chipping and fading.
Preparing Your Nails
Preparing your nails for a dip nail design is crucial to ensure the longevity and quality of the design. With proper nail prep including filing, shaping, cuticle care, and pH prep, you can definitely get a nail design with dip powder.
From freehand swirls to glitter ombre and color blocking, the possibilities for dip nail designs are endless.
Cleaning And Buffing
To prepare your nails for a dip nail design, start by cleaning them with a gentle nail polish remover to eliminate any oils or residue. Next, gently buff the surface of your nails to remove any shine and create a slightly rough texture for better adhesion.
Applying A Base Coat
Once your nails are clean and buffed, apply a base coat to each nail, ensuring complete coverage. This will provide a smooth surface for the dip powder and help the color adhere evenly.

Credit: fairyglamor.com
Step-by-step Dip Application
When it comes to nail designs, dip powder offers a versatile and long-lasting option. Creating stunning nail designs with dip powder is a popular choice among nail enthusiasts. The step-by-step dip application process allows for precise and beautiful nail designs that can last for weeks.
Layering The Dip Powder
To start the dip application process, it’s essential to layer the dip powder onto the nails. After applying a base coat and dipping the nails into the powder, tap off any excess powder and repeat the process for a full and even coverage. This layering technique ensures that the nails are completely coated with the dip powder, providing a strong foundation for the design.
Activating And Setting
After layering the dip powder, the next step involves activating and setting the powder. Apply the activator to the nails to harden the powder and create a durable finish. This step is crucial in ensuring that the dip powder adheres securely to the nails, promoting longevity and preventing chipping or fading of the design.
Creating Basic Designs
Yes, you can achieve various nail designs using dip powder. From freehand swirls to glitter ombre and daisy nail art, dip nails offer a versatile canvas for creative designs. Skip the gel – dip nails are perfect for beginners seeking trendy nail art options.
Techniques For Marbling
Marbling is a popular nail design technique that can be easily achieved with dip powder. Start by applying a base coat and dipping the nail into the desired color. Use a toothpick to create swirls or drag the colors to create a marbled effect. Repeat the process for each nail, creating unique and eye-catching designs.
Using Stencils And Decals
Stencils and decals can elevate your dip powder nail designs. After applying the base color, place the stencil or decal on the nail and carefully apply another layer of dip powder. Once the powder has set, carefully remove the stencil or decal to reveal the intricate design. This technique allows for precise and intricate patterns, perfect for creating professional-looking nail art.

Credit: www.youtube.com
Advanced Dip Nail Art
Advanced Dip Nail Art takes the traditional dip nail technique to the next level with intricate and stunning designs. From incorporating glitters and foils to creating mesmerizing ombre effects, the possibilities are endless for creating unique and eye-catching nail art.
Incorporating Glitters And Foils
Adding glitters and foils to dip nail designs can elevate the overall look and add a touch of glamour. By sprinkling glitter dust onto the freshly applied dip powder or carefully placing foil accents onto the nails, a dazzling and textured effect can be achieved.
Creating Ombre Effects
With the dip nail technique, achieving ombre effects is a seamless process. By blending two or more complementary colors of dip powder, a smooth gradient transition can be created, resulting in a stunning ombre effect that adds depth and dimension to the nails.
Tips For Perfect Finishes
Explore the possibilities of nail designs with dip powder for a flawless finish. Get creative with daisy nail art or experiment with glitter tips – the options are endless for stunning nail designs. Let your nails shine with unique and trendy dip powder designs.
Avoiding Common Mistakes
When getting a nail design with dip, it’s crucial to avoid common mistakes like rushing the application process.
Sealing And Protecting Your Design
To ensure a perfect finish, seal and protect your nail design by applying a top coat and avoiding harsh chemicals.
Maintenance And Aftercare
After getting a stunning nail design with dip powder, it’s crucial to follow proper maintenance and aftercare to ensure the longevity and health of your nails. By incorporating routine care and safe removal techniques, you can enjoy your beautiful dip nail design without compromising the health of your natural nails.
Routine Care For Longevity
To maintain the longevity of your dip nail design, here are some essential routine care tips:
- Moisturize: Keep your nails and cuticles moisturized with a nourishing cuticle oil or hand cream to prevent dryness and promote nail health.
- Avoid Harsh Chemicals: When using cleaning products or engaging in activities that involve harsh chemicals, wear gloves to protect your nail design.
- Regular Touch-ups: Schedule regular touch-up appointments with your nail technician to fill in any gaps or regrowth, ensuring that your nail design stays flawless.
- Gentle Handling: Be mindful of your nails and avoid using them as tools to prevent chipping or lifting of the dip powder.
Safe Removal Of Dip Nails
When it’s time to remove your dip nail design, ensure that the removal process is done safely to prevent damage to your natural nails. Here’s how to safely remove dip nails:
- Buff the Top Layer: Gently buff the top layer of the dip powder to break the seal and remove the shine.
- Soak in Acetone: Soak cotton balls in acetone, place them on your nails, and wrap them with foil. Allow the acetone to dissolve the dip powder for about 15-20 minutes.
- Gently Remove Residue: After soaking, gently remove any remaining dip powder residue using a cuticle pusher or wooden stick. Avoid forcefully scraping to prevent damage to the natural nail.
- Moisturize and Rest: Once the dip powder is completely removed, moisturize your nails and allow them to rest before applying a new nail design.
Frequently Asked Questions
Can You Get Designs On Dip Powder Nails?
Yes, you can definitely get designs on dip powder nails. Dip powder nails are a type of manicure where pigmented powder is applied to the nails. You can still create beautiful designs over the nail with dip powder nails. It’s a great option for those looking to get creative with their nails.
How Much Are Dip Nails With Designs?
Dip nails with designs typically range from $40 to $70. Prices may vary depending on the complexity of the design.
Can You Draw On Dip Nails?
Yes, you can draw on dip nails. You can paint over dip powder nails and create beautiful designs. Ask your technician to apply a coat of clear dip powder and then use regular or gel polish for your design.
Is Dip Or Acrylic Better For Designs?
For intricate designs, acrylics are better. Nail techs can get creative with acrylics, offering intricate designs. Dip powder can still have designs, but they’re typically less complex.
Conclusion
Getting a nail design with dip powder is absolutely possible. Dip powder manicures offer a wide range of design options, from simple dots to intricate patterns. However, it is important to note that dip nails work best with solid color blocks, and building up designs with multiple colors can be time-consuming and messy.
Overall, dip powder nails are a great option for achieving a long-lasting, salon-quality manicure with the added bonus of being able to create beautiful designs.


